Welcome to My Carbide 3D

Get the expertise and confidence to create amazing projects with our training material, created by CNC experts.

Not sure where to start? Click here.

First Steps

Configure Your Machine

Configure Your Machine

Install Carbide Motion, and get your machine running.

Machines

Shapeoko 5 Pro

Shapeoko 5 Pro

Manuals and instructions for the Shapeoko 5 Pro.
Shapeoko Pro

Shapeoko Pro

Manuals and instructions for the Shapeoko Pro.
Shapeoko 4

Shapeoko 4

Manuals and instructions for the Shapeoko 4.
Shapeoko 3

Shapeoko 3

Manuals and instructions for the Shapeoko 3.
Nomad

Nomad

Manuals and instructions for the Nomad.

Running a Shapeoko

Welcome

Welcome

Welcome to Shapeoko! We'll cover the basics of what you need to know to get started making things.

First Connections

First Connections

We'll cover power and computer connections as well as considerations for placement of your power source and machine.
Installing Software

Installing Software

Carbide 3D provides all the software required to begin making things with your machine. Let's get it installed and ready to use.
Checking the Machine

Checking the Machine

You're so close to starting up your new Shapeoko. These five checks will ensure you are ready for initialization. Spend a small amount of time now to save time later.
Machine Initialization

Machine Initialization

Let's power on your machine for the first time. Perform these last second checks and then have your Shapeoko make its first movements.
Movement and Zero

Movement and Zero

Learning how to move your machine with precision is step one in setting up your projects.

Configure BitSetter

Configure BitSetter

BitSetter is the best accessory in the Shapeoko Universe. Allowing the use of multiple tools across a single project, BitSetter automates your workflow and saves you time.

BitZero Installation

BitZero Installation

The BitZero Touch Probe offers you the option to automate finding the edges and top of your stock.

Hello World

Hello World

Hello World functionally takes you through the basics of setting a zero, running your machine, and producing your first thing.

Hello Contour

Hello Contour

Let's get cutting!! Hello Contour shows you just how useful the most basic of toolpaths can be.
Hello Pocket

Hello Pocket

We'll show you how to use basic pockets to create a fun and functional item.

Hello V-carve

Hello V-carve

V-carve excels at text creation for sign making, or any other project. V-carving is easy-to-use and powerful.

Accessories

BitSetter

BitSetter

BitSetter automates tool changes to save you time and improve accuracy.
BitZero

BitZero

BitZero simplifies the process of setting your zero point.
BitRunner

BitRunner

BitRunner is a plug-and-play accessory to control the power to your router.
VFD Spindle

VFD Spindle

VFD Spindle is a high-performance spindle for your Shapeoko.

Projects

Drop Trays

Drop Trays

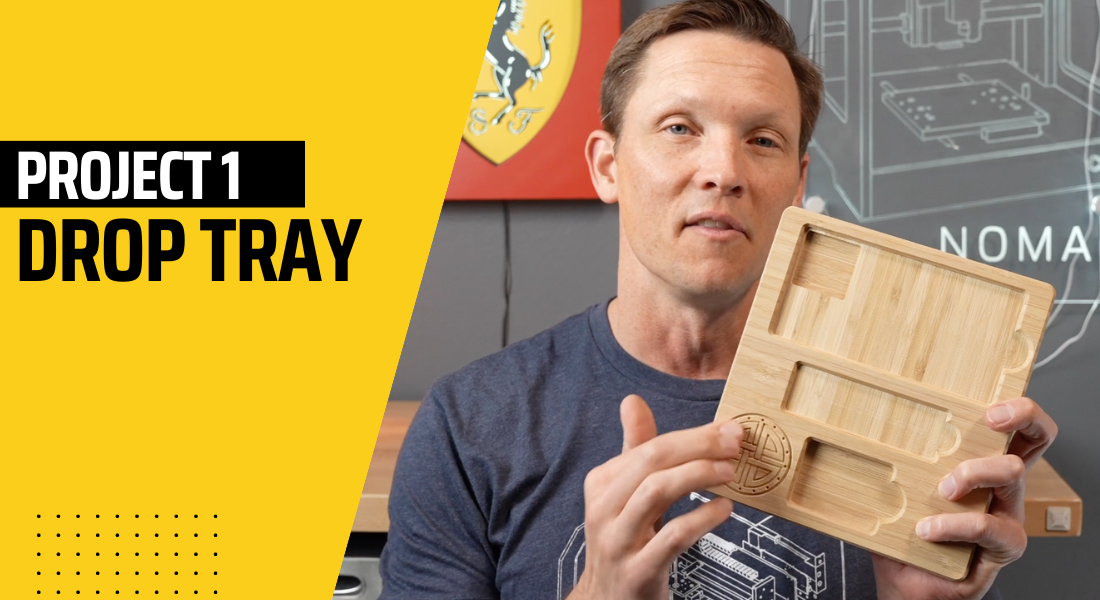
The humble Drop Tray, or Valet Tray, can incorporate simple utility or be a creative endeavor.
Cutting Board Mods

Cutting Board Mods

Turn an existing cutting board into a truly unique product.
Signs

Signs

Signs are one of the most popular CNC projects out there.
Clocks

Clocks

Take an off-the-shelf clock movement and create a unique gift or product.
Pendant Lights

Pendant Lights

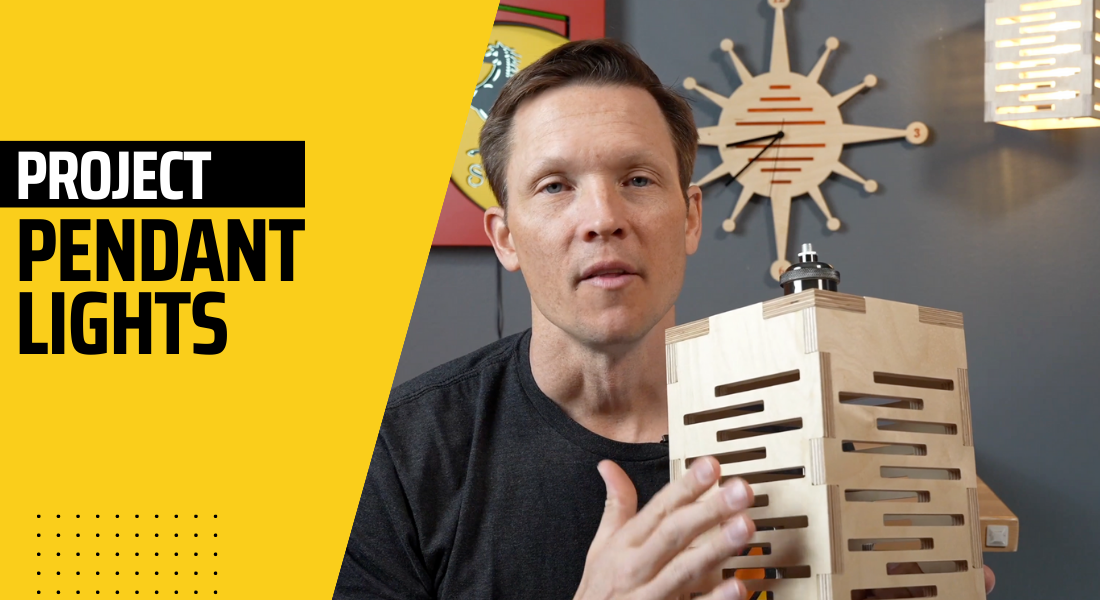
Kevin illuminates additional techniques and strategies for making your CNC skills grow by adding a little light to your projects.

Design with Carbide Create

Welcome to Carbide Create

Welcome to Carbide Create

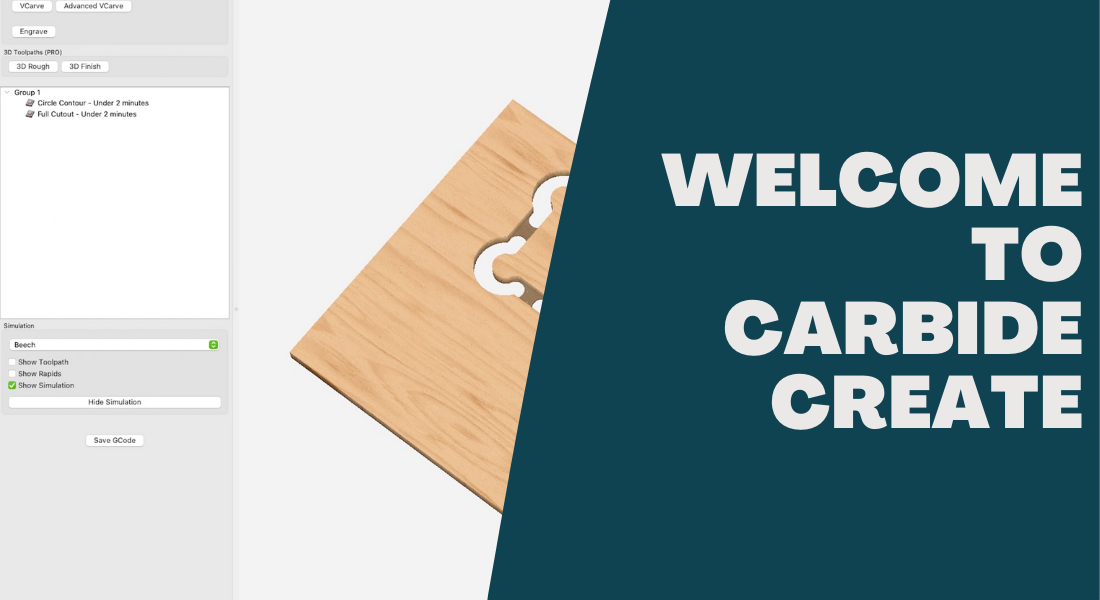
In this video we'll say hello and let you know what you can expect from the rest of the course.
Job Setup

Job Setup

Learn how to setup your job size and set your zero position.
Shapes

Shapes

Create basic shapes and learn how to edit them.
Boolean Operations

Boolean Operations

Booleans are a powerful way to combine shapes and create new ones.
Object Manipulation

Object Manipulation

Learn how to move, rotate, scale, and align objects.
Offsets

Offsets

Offsets are a powerful way to create new shapes from existing ones.
Importing and Tracing Images

Importing and Tracing Images

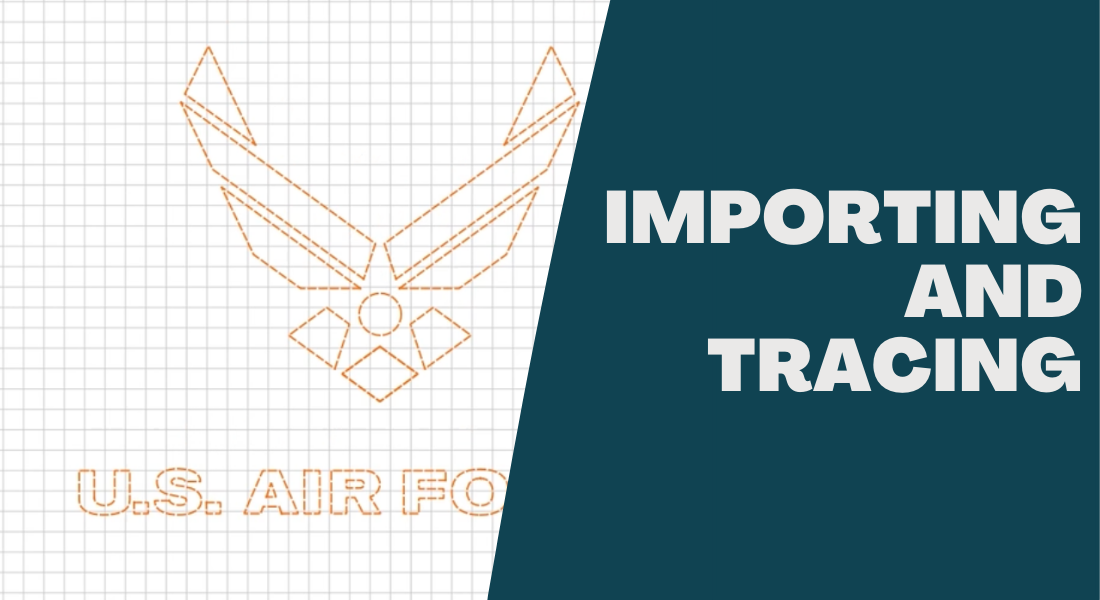
Don't want to begin with a blank canvas? Learn how to import and trace images.
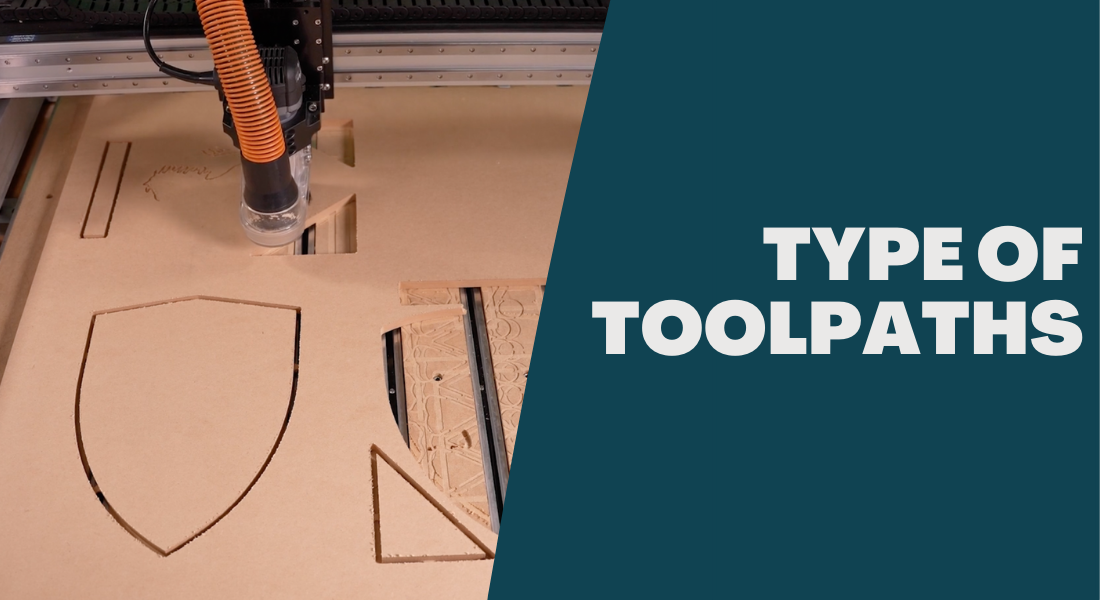
Types and Uses of Toolpaths

Types and Uses of Toolpaths

Toolpaths let you move your design into the real world. Learn about the different types and how to use them.
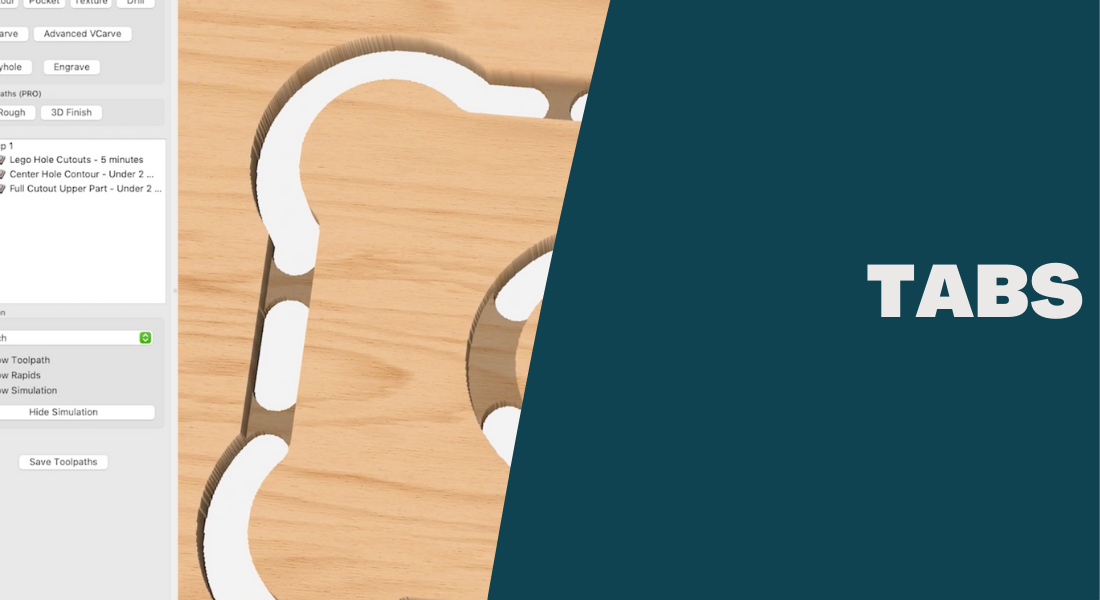
Tabs

Tabs

Tabs keep your parts from moving around while they are being cut out. Learn how to add them to your design.
Simulation

Simulation

Save that piece of scrap wood! Learn how to simulate your toolpaths before you cut them.
Tool Libraries

Tool Libraries

Create and save your own tool libraries.
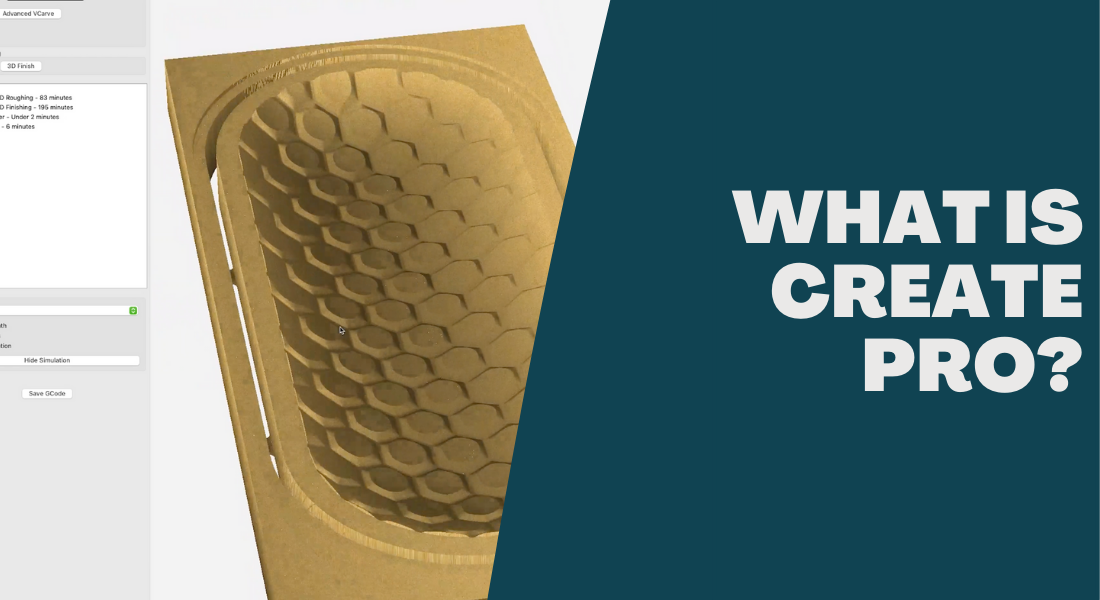
What is Carbide Create Pro?

What is Carbide Create Pro?

Ready to add some more power to your designs? Learn about the Pro features of Carbide Create.

Carbide Create Pro

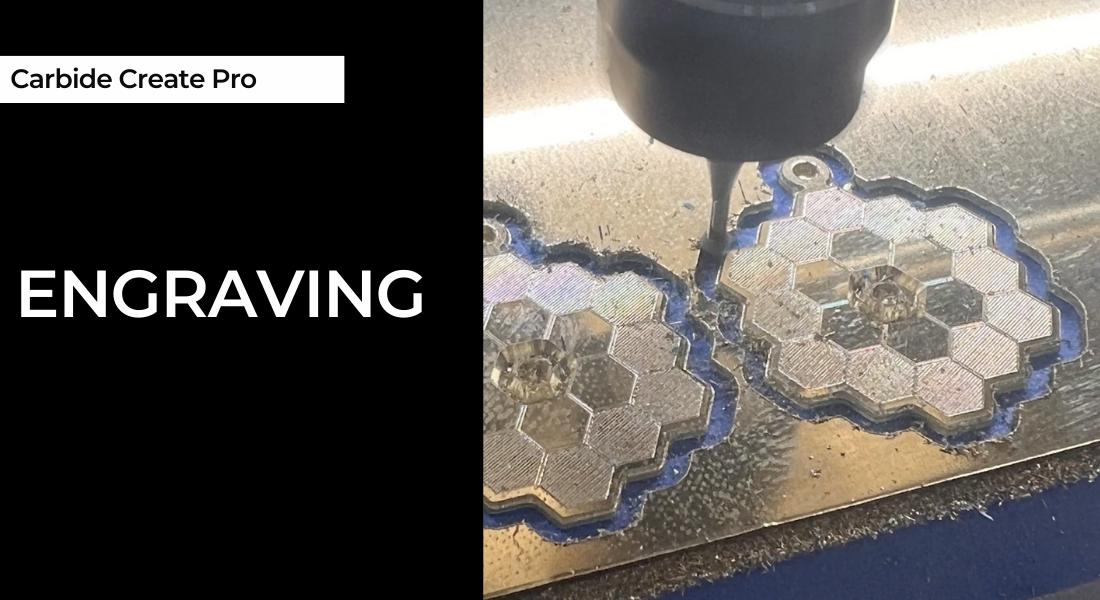
Engraving

Engraving

Engraving will have you exploring new avenues by marking metals, plastics, glass, granite, ceramics and more. Fine details are simple and fast with Diamond Tip Drag Engravers.
Rest Machining

Rest Machining

Save machining time with this efficient two-tool strategy.
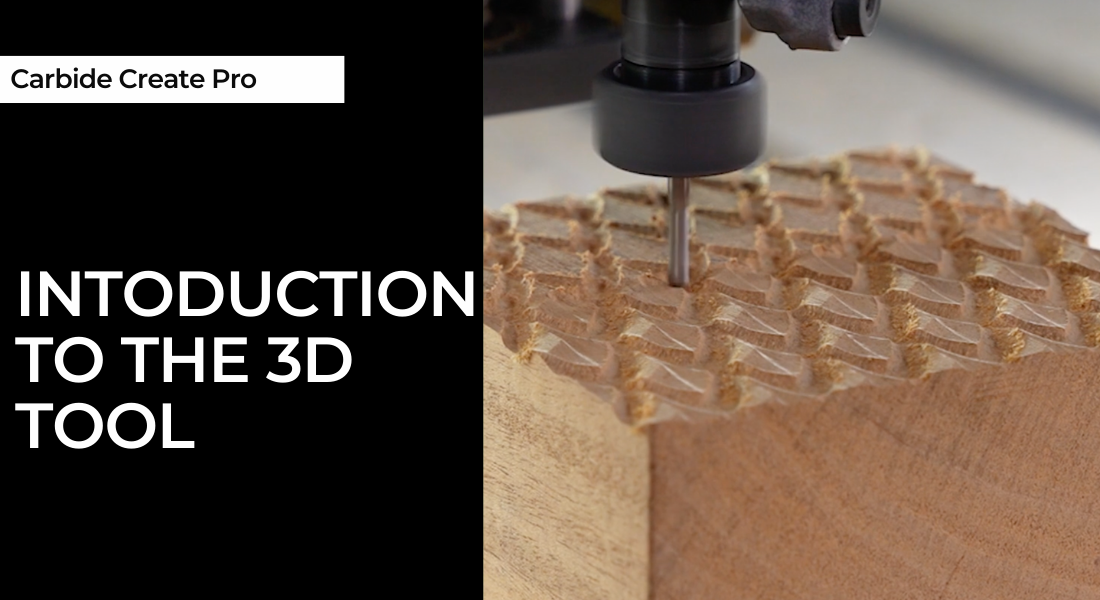
3D Tool Introduction

3D Tool Introduction

The 3D Tool inside Create Pro 7 takes your art to eleven. Add 3D features to existing projects as accents or create stand-alone items.
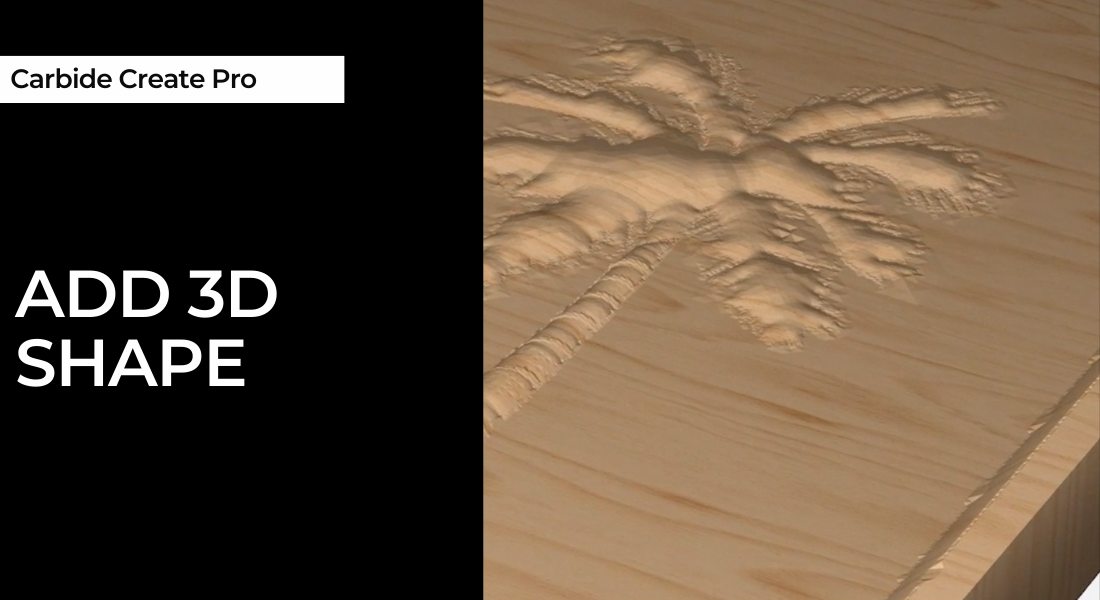
3D Tool Add Shape

3D Tool Add Shape

Whether you're tracing an image or drawing with the design tools in Create Pro, Add Shape will turn 2D art into a 3D experience.
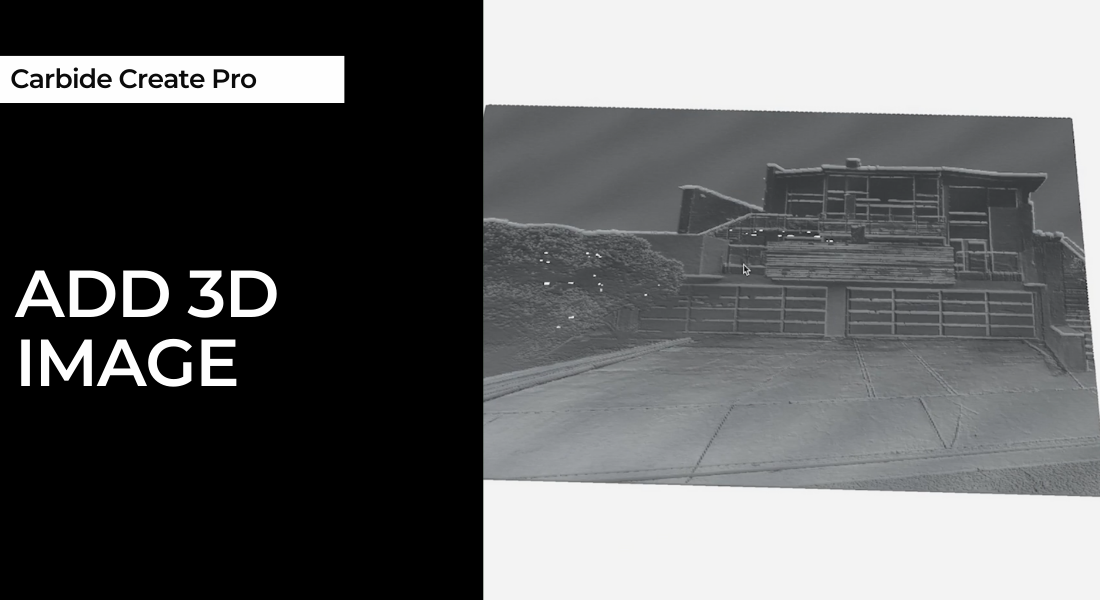
3D Tool Add Image

3D Tool Add Image

Photos, terrain maps, textures, and illustrations can all become 3D objects in Create Pro.
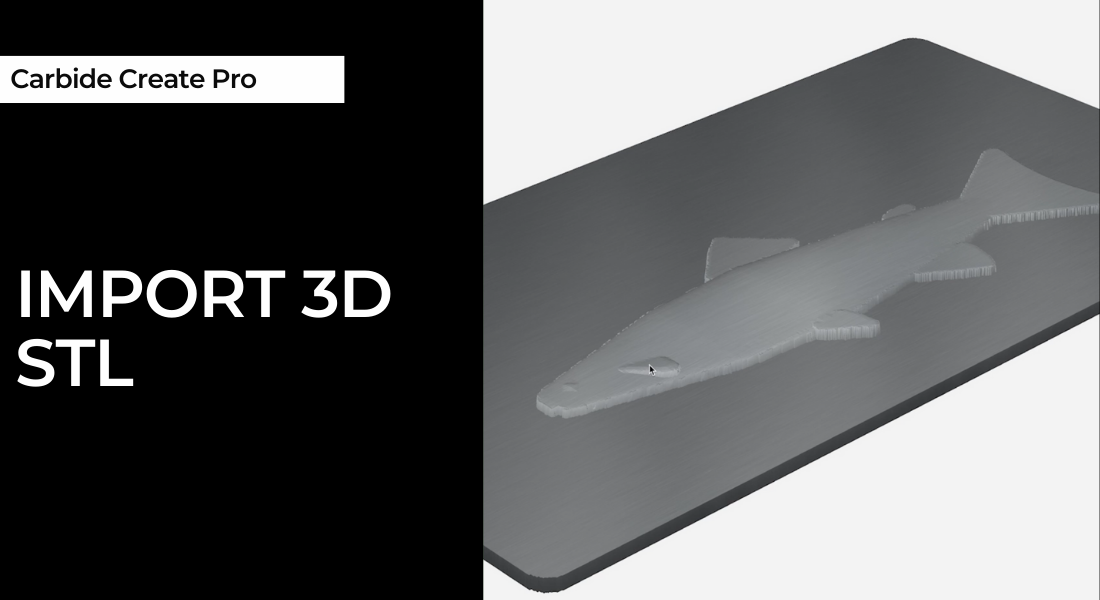
3D Tool Import STL

3D Tool Import STL

STL Files are typically utilized for 3D printing but Carbide Create Pro 7 can load them to create a 3D element.
3D Toolpathing

3D Toolpathing

Just 2 toolpaths will be responsible for cutting your 3D designs.
G-code Output

G-code Output

G-Code is the language being used to command your CNC machine. Exporting G-code gives you the added flexibility of being allowed to view and manually edit the raw code.