Introduction
Homing is the process of moving a CNC machine to a known position, called the "home position". The home position is used as a stable reference for everything else in the machine, including the project location and the position of your BitSetter.
The homing process involves slowly moving the machine in the correct direction until it detects the home position. Shapeoko and Nomad machines use inductive switches to detect the home position.
Inductive switches can be thought of as small metal detectors. They turn on or off when metal is brought close to the face of the switch. The switches trigger with either steel or aluminum metal targets.
Inductive switches are "potted," meaning they're filled with epoxy after assembly making them a completely sealed unit. Because of the potting, they cannot be serviced or disassembled; they can only be replaced.
Support Videos
For those who prefer video to text, we have this, which might help out.
Common Homing Failures
Jammed Axis
Homing will fail on a machine if the axis is jammed, so it cannot move to the home position. In most cases, this is one of two things:
- Cutting debris is packed into the axis and is blocking any motion. This can quickly be fixed by cleaning everything out.
- The vacuum hose is draped over an axis so that it blocks any motion. The vacuum hose should never rest on the machine; it should be suspended over the machine.
If either of these happens to you, make the fix and reinitialize the machine, and you should be back to work quickly.
The Machine is Out of Square (Shapeoko 5 Pro only)
The Shapeoko 5 Pro uses switches on each Y axis to resquare the machine whenever it homes. The Shapeoko 5 Pro can compensate for around 25mm of error in the initial squareness of the machine without any trouble. The homing process will fail if the machine is off by more than that before running the initialization routine.
If this happens to you, check that nothing is blocking the travel of your Y axis and reinitialize the machine. It should start from a better position after the first attempt, so it will likely succeed the next time.
Switch Targets Missing
We have seen failures where a switch failed to close because the metal target that triggers it was missing or out of position. This is usually fixed by repositioning the switch or target to get them in the correct position.
Metal Debris on the Switch
We have seen cases of switch failure that turned out to be metal chips from the CNC machine packed onto the surface of the switch, causing it to be constantly activated. This is not a failure of the switch, and the problem is quickly fixed by removing the chips.
Inductive Switch Failures
Inductive switches are relatively simple devices and only fail in a couple of ways.
ESD / Electrostatic Discharge - It's possible to zap a switch with static electricity and kill it. This would most likely be static electricity from an ungrounded vacuum system in a CNC machine.
Wiring - The wires coming out of the switch can be pulled or crimped in a way that damages the internal circuit.
If none of the fixes above work for you, see the section below on testing the homing switches.
Wiring or PCB Failures
Like the switches themselves, the wiring and PCB in the machine is usually only damaged by physical abuse or ESD.
If your switches checked out OK, see the section below on testing the wiring and PCB.
Testing Homing Switches
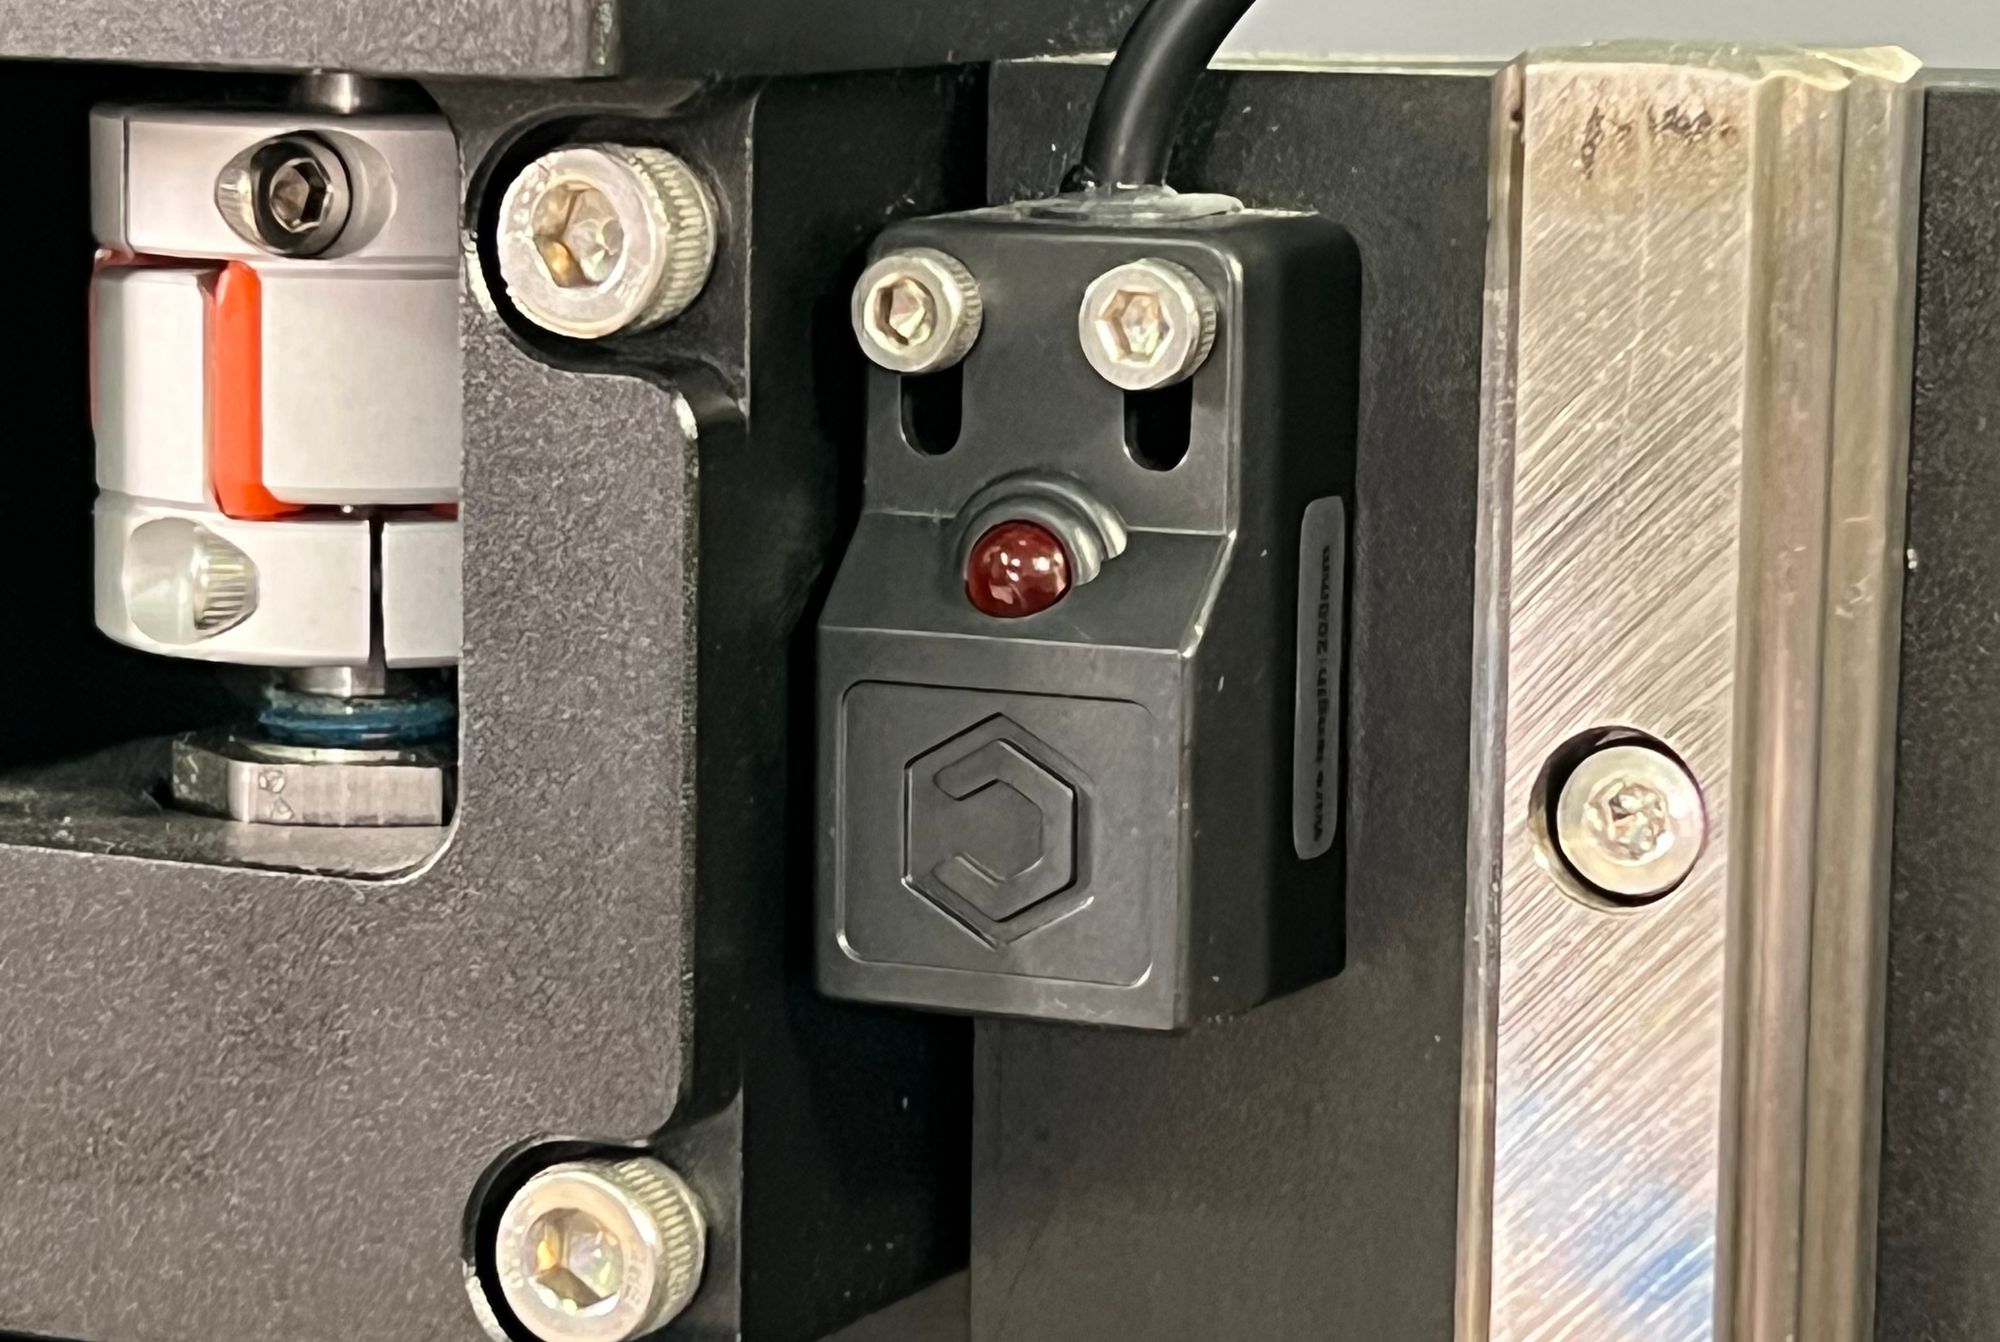
Each inductive switch has a small LED light that lights up when they sense metal, making it easy to test the switch.
- Power on the machine.
- Ensure the machine axis is more than an inch away from the switch.
- Ensure the LED is off. If it's not, you likely have a broken switch.
- Put a piece of metal in front of the switch. Ensure the LED is on. If not, you have a bad switch or a broken wiring harness.
If everything above looks good, you must test the full signal path back to the main PCB.
Testing the Wiring and PCB
Carbide Motion includes a debug panel that makes it easy to see if the main PCB can get the switch input signals.
- Open Carbide Motion
- Connect to your machine
- Go to Settings
- At the bottom of the pane, you'll see an active switch panel with X, Y, and Z (For the Shapeoko 5 Pro, you'll also have a Y2)
- Test the switches as you did above and see that the matching signal activates and deactivates when you put a piece of metal in front of the switch.
If it doesn't work correctly, our support team can help you diagnose if it's a bad switch, wiring harness, or PCB.
Bypassing Homing Switches
When a switch fails, it's impossible to continue using the CNC machine, even though the homing switches are only used to initialize the machine. We have a process outlined below to continue using your machine while waiting for a replacement.
- Connect to your machine in Carbide Motion.
- Go to the MDI screen.
- Enter G28.3 and send it to the machine. This will cause your machine to set itself as "homed" with the current position being the home position.
- Go to the Jog screen.
- Jog your machine all the way to the back right, and lift the Z to the maximum height.
- Go to the MDI screen.
- Enter G28.3 and send it to the machine. This sets the current position as home, which should be very close to the real home position.
Note: You'll want to reset your project zero after a manual homing routing because the manual home position will likely be just slightly off from the one your machine uses.